Natural stone floors—whether they are the cool, elegant marble in a Melbourne terrace or the rugged, earthy sandstone of a coastal Sydney home—bring a timeless beauty to any space. In Australia, we love natural stone for its durability and its ability to keep a house feeling fresh during those scorching summer months.
However, natural stone is a “living” material. Unlike ceramic or porcelain tiles, stone is porous, meaning it can breathe—and it can also absorb spills, oils, and dirt if not treated correctly. If you treat your travertine like you treat your laminate, you might end up with permanent “etch” marks or dull patches.
This comprehensive guide will walk you through how to clean and maintain your natural stone floors to ensure they look stunning for decades.
Also Read: Guide to Crazy Paving for Australian Homes
🛑 The Golden Rule: What NEVER to Use
Before we get to the “how-to,” we must discuss the “never.” Many “natural” cleaning hacks you see online are a death sentence for stone.
- No Vinegar or Lemon Juice: These are acidic. Acid reacts with the calcium carbonate in stones like marble, limestone, and travertine, causing a chemical burn known as “etching.” It will eat away the polish and leave a dull, white mark.
- No Bleach or Ammonia: These are too harsh and can break down the sealers that protect your stone.
- No Abrasive Scouring Pads: Steel wool or “magic erasers” can scratch the soft surface of the stone.
Also Read: How to Clean your Bathroom Properly?
🧹 Method 1: The Daily Routine (Preventing Scratches)
In Australia, our biggest enemy is sand and grit. If you live near the coast or have a backyard with active kids and pets, tiny grains of sand act like sandpaper under your feet, grinding away the finish of your stone every time you walk on it.
Step 1: Use a Soft Broom or Microfibre Dust Mop – Avoid vacuum cleaners with a “power brush” or “beater bar” attachment, as the hard plastic or metal wheels can scratch the stone. A soft-bristled broom or a dry microfibre mop is the safest way to collect dust and grit daily.
Step 2: Place Walk-Off Mats – Prevention is better than a cure. Place high-quality mats at every entrance to catch grit before it ever touches your stone.
🧼 Method 2: The Weekly Deep Clean (Wet Mopping)
When your floor needs more than just a sweep, it’s time for a wet mop. This should be done weekly or fortnightly depending on foot traffic.
Step 1: Choose a pH-Neutral Cleaner
Look for a dedicated “Stone Soap” or a cleaner labeled “pH-Neutral.” These are specifically formulated to clean without stripping the sealer or reacting with the stone. If you are in a pinch, a very small amount of mild, clear dish soap in a bucket of warm water works—but be careful not to use too much, or it will leave a streaky film.
Step 2: Use the Two-Bucket System
One bucket should contain your cleaning solution, and the second bucket should contain clean rinse water. This prevents you from just spreading dirty water back over the floor.
Step 3: Mop with a Microfibre Mop
Dip your mop in the cleaning solution and wring it out well. The mop should be damp, not dripping wet. Natural stone doesn’t like to sit in puddles.
Step 4: The Final Rinse
After mopping, go over the area one more time with a clean mop dampened only with fresh water. This removes any soapy residue that might attract more dirt later.
Step 5: Buff Dry
This is the “pro secret.” Don’t let the floor air dry, as this can lead to water spots or streaks. Use a large, dry microfibre towel to buff the floor dry. This restores the shine and ensures a streak-free finish.
Also Read: Why Travertine is a Stylish Choice for Outdoor Paving?
🍷 Method 3: Dealing with Stubborn Stains (The Poultice Method)
Accidents happen—a dropped glass of red wine or an oil splash in the kitchen. If the stone has absorbed the stain, a regular mop won’t work. You need to “pull” the stain out using a poultice.
- Create a Paste: Mix a specialized stone-safe cleaning powder (or even unscented talcum powder) with a bit of hydrogen peroxide (for organic stains like wine) or a bit of water and stone cleaner (for oil stains) until it reaches the consistency of peanut butter.
- Apply: Spread the paste over the stain about half a centimeter thick.
- Cover: Cover the paste with plastic wrap and tape down the edges. Poke a few small holes in the plastic to allow it to breathe.
- Wait: Let it sit for 24 to 48 hours. As the paste dries, it literally draws the stain out of the stone and into the powder.
- Remove: Scrape the dry paste away with a plastic spatula and wipe the area with a damp cloth.
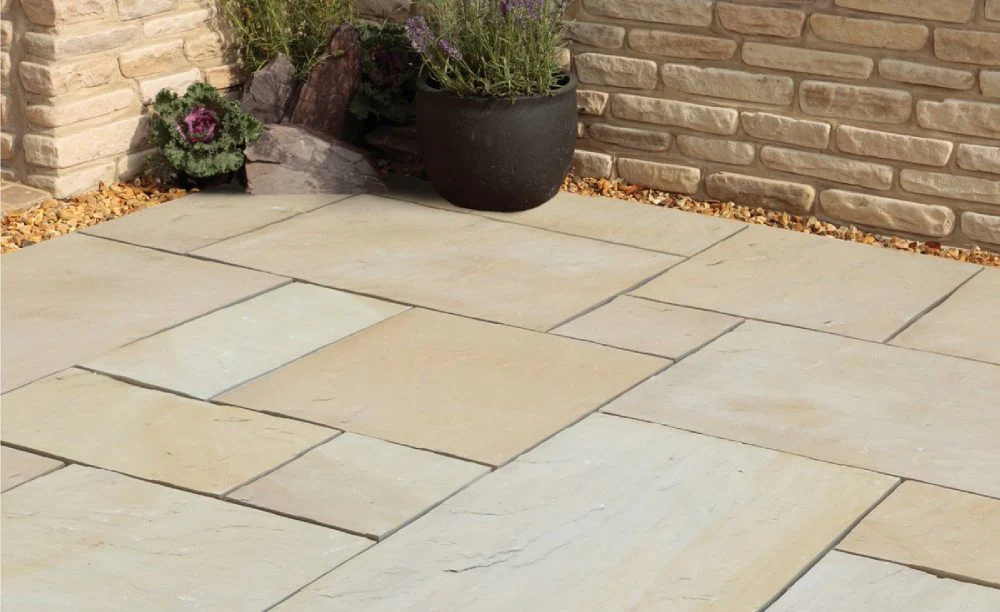
🌳 Method 4: Outdoor Stone (Sandstone & Bluestone)
Australian outdoor areas often feature Sandstone or Bluestone. These are even more porous and are exposed to the elements, mould, and bird droppings.
- Gentle Pressure Washing: You can use a pressure washer on outdoor stone, but keep it on a low setting. High-pressure streams can actually pit the stone or blow out the grout between the tiles.
- Algae Removal: If you have green algae or mould, look for a “biological” stone cleaner. These are safer than chlorine bleach and continue to work over several weeks to kill the spores.
✨ Maintenance: The Power of Sealing
The best way to clean a natural stone floor is to make it “unstainable.” This is achieved through sealing.
- How it works: A “penetrating sealer” sinks into the pores of the stone, acting like a shield that stops liquids from soaking in immediately.
- The Test: To see if your floor needs resealing, drop a few beads of water on the surface. If the water stays in a bead, your sealer is working. If the stone darkens and absorbs the water within a minute, it’s time to reseal.
- Frequency: Most indoor stone floors in Australia should be resealed every 3 to 5 years, while high-traffic areas or outdoor patios might need it every 1 to 2 years.
✅ Checklist for Natural Stone Care
| Task | Frequency | Tools |
| Dusting | Daily | Soft broom or dry microfibre mop |
| Damp Mopping | Weekly | pH-neutral stone cleaner, warm water |
| Rinsing | Weekly | Clean water and fresh mop |
| Buffing | Weekly | Dry microfibre towel |
| Resealing | Every 3-5 Years | Penetrating stone sealer |
By following these simple steps, you’ll keep your natural stone floors looking as beautiful as the day they were installed. It takes a little more care than vinyl or ceramic, but the luxurious feel underfoot is well worth the effort.